If you’ve been following along in my scrap quilt journey, you’ve seen that so far things have not gone super great.
Unfortunately, things have not improved. You’d think this far along I would learn to slow down, but instead I seem to do the opposite. Determined to just hurry up and get this darn thing finished, I’ve continued in my examples of “what not to do”.
In How NOT To Make A Scrap Quilt – Part 1 I laid out how not to make the squares for a scrap quilt. Today we will look at how not to assemble the front of your scrap quilt.
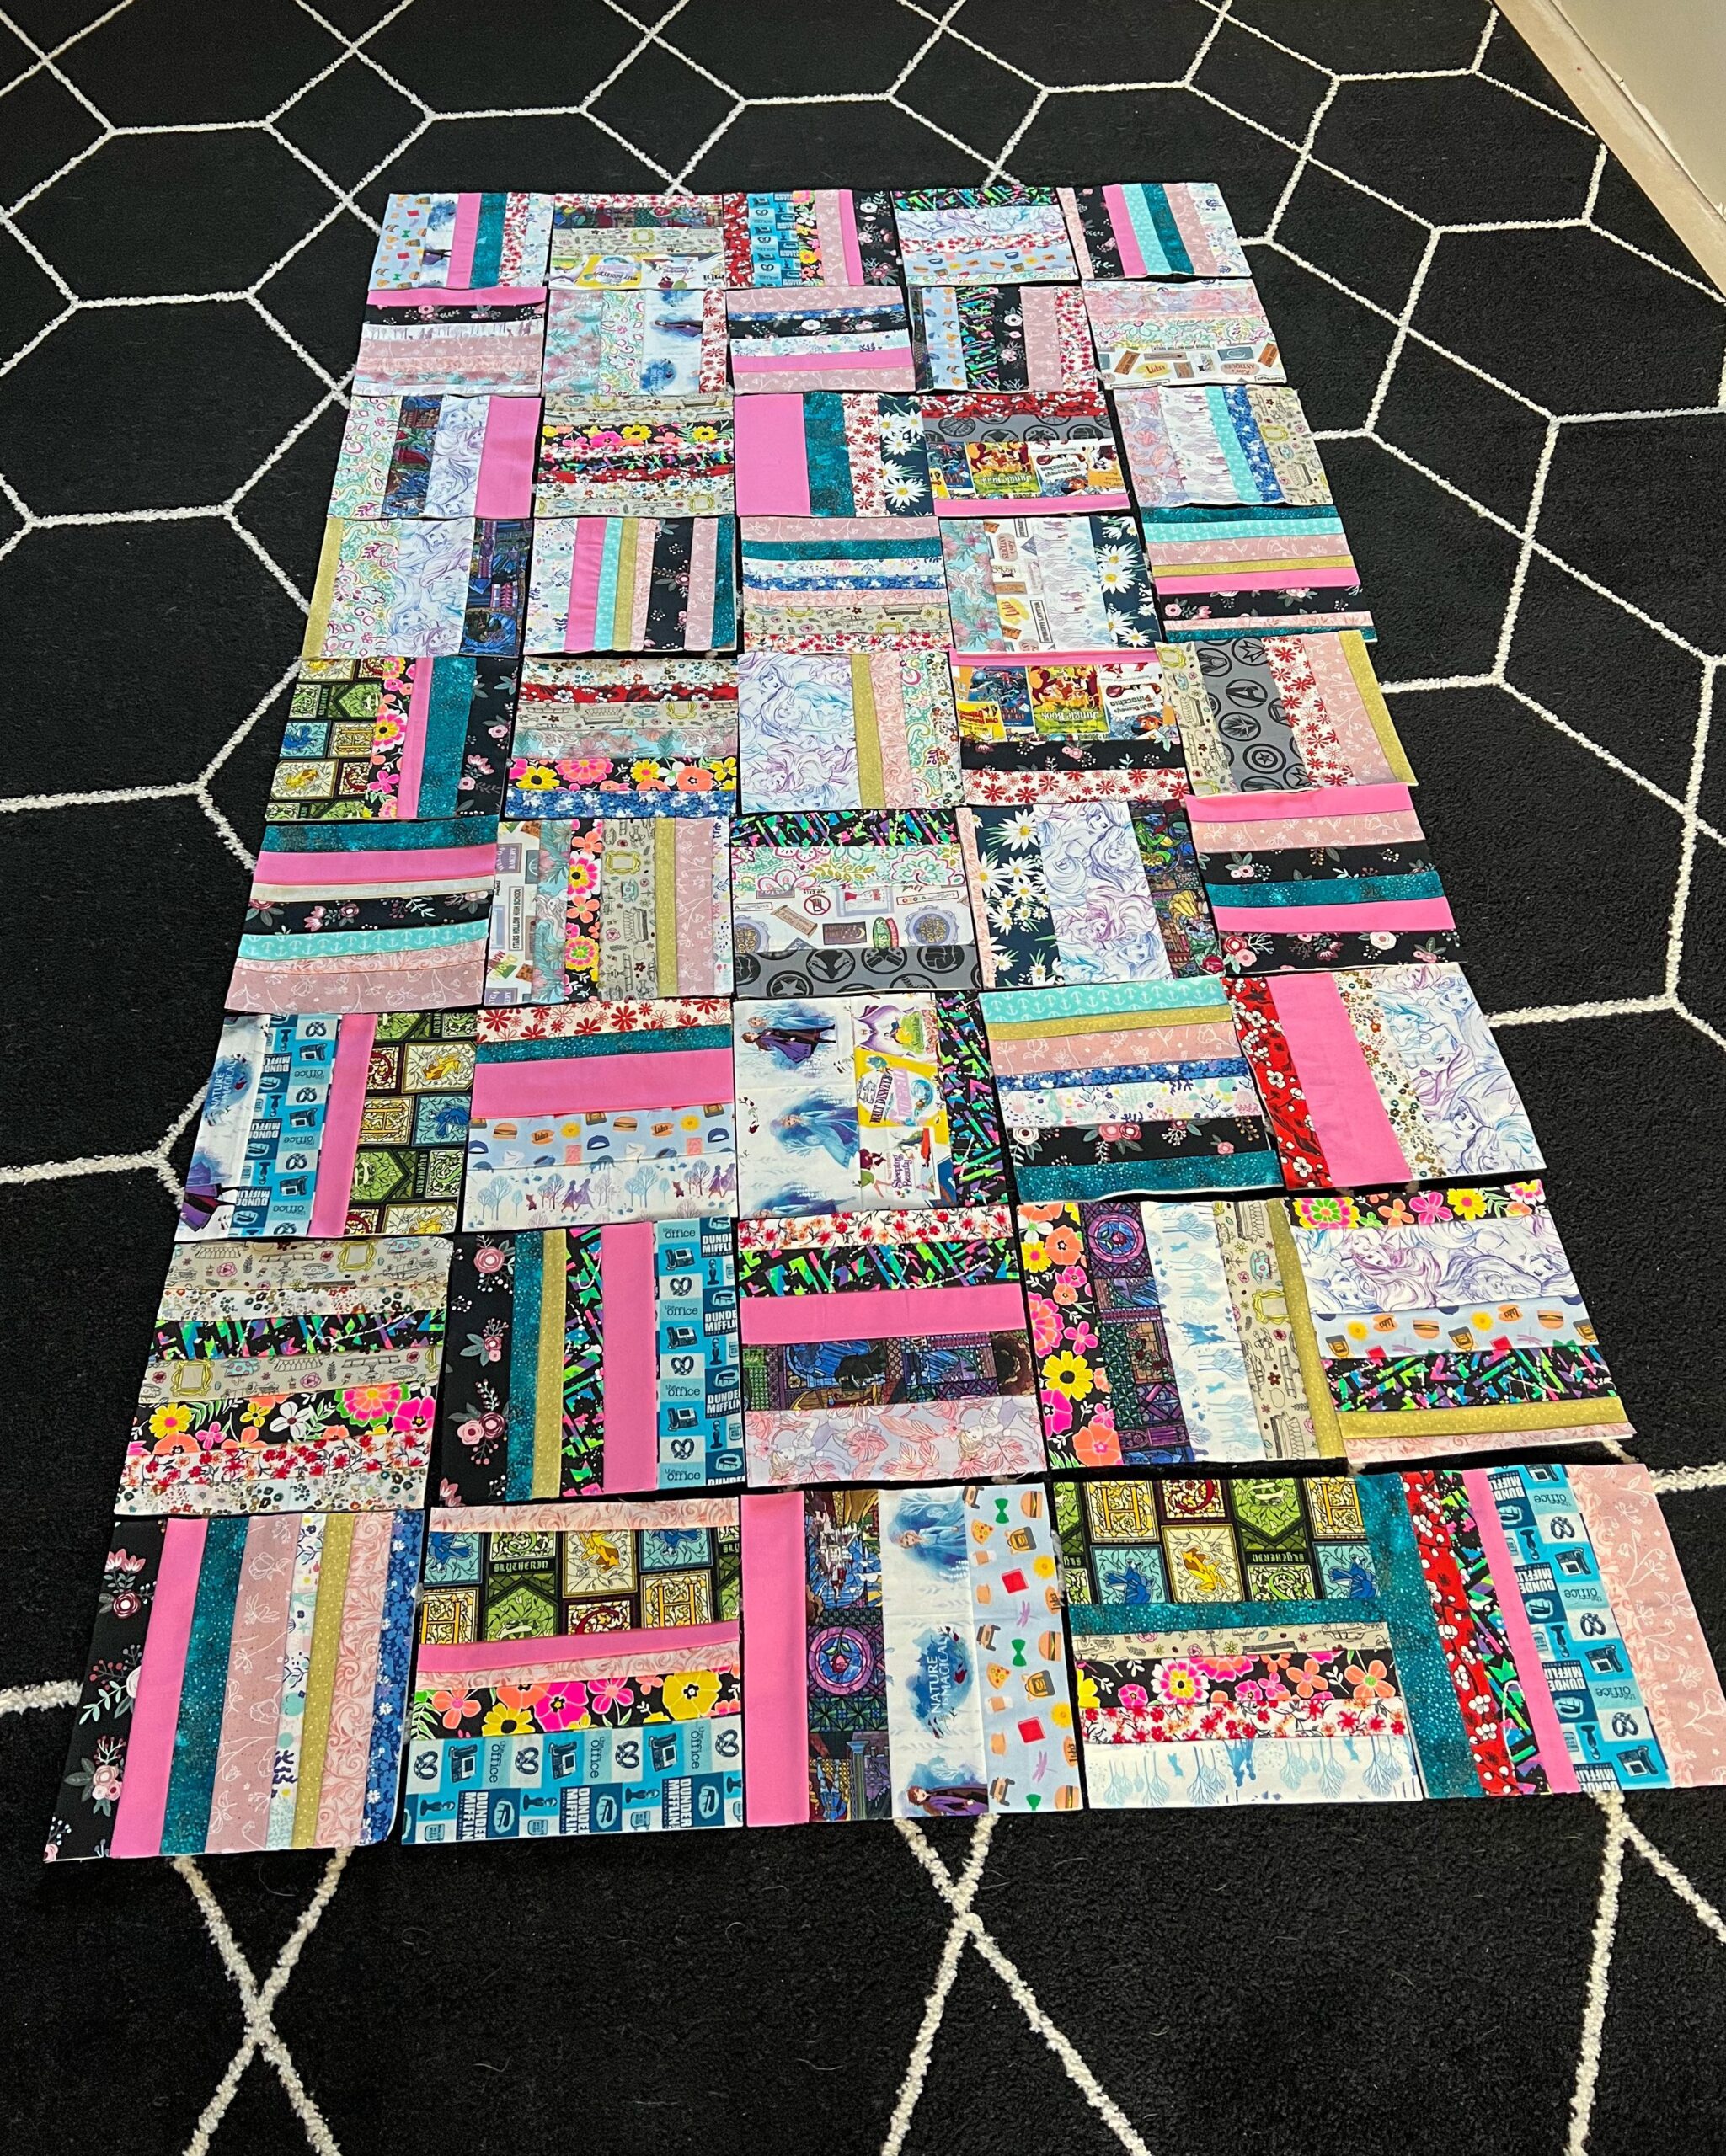
Once I had all of my squares trimmed up, I laid them all out how I wanted. Luckily, my kids had just cleaned up our downstairs so I had a large enough space to lay out the number of rows and columns I wanted, and decided to alternate stripe directions.

When its you have your pieces laid out how you want them, do NOT mix up your columns. I stacked each column starting at one end so they would stay in the same order, and tried to carry all of them to my sewing area at the same time. Needless to say, I ended up having to take them back downstairs and laying them out again.
When I finally got everything situated and back upstairs, I was ready to start sewing. I did one column at a time sewing each block together by laying them face together.

Once the columns were finished I started sewing the columns together. If you are wanting your blocks to fall into a certain pattern do NOT forget to check your layout before attaching columns. I wanted my blocks to alternate directions, but I didn’t double check the first two columns I grabbed and stitched them together. I then realized that I had grabbed the wrong one, and had to take them apart. Ripping seams is a task I dread, not to mention all the time I wasted having to take them apart.
I finally had all the columns together in the correct order (I did realize that one block was facing the wrong direction, but I was ready to just move on, so I left it.)
Thant’s when I all of my errors led up to this large conundrum…


My columns were very, very uneven! *que facepalm here*
Learn from my mistakes; go slow, measure twice, pin your pieces. Thankfully, it’s not the end of the world, and we can move forward from here. (Though I did sacrifice in time and materials.) I simply cut the ends even and moved on.

So, I finally have the front completely assembled. And no, this isn’t the end of the story yet. Stay tuned for Part 3 – when I FINALLY finish this darn thing!