So apparently with the recent release of a single video, Taylor Swift has unofficially endorsed sewing and needlework.
I started counted cross stitch when I was in junior high. Its a great craft if you want something to keep your hands busy while you sit and relax. (My husband calls it my “old lady craft”. Especially since I generally sit in my rocking chair, with a blanket on my lap, and a warm cup of tea.)
I am cursed with a combination of the “how hard can it be” and “I read the instructions once, I know how to do it” mindsets. So when I started my first kit, it was not pretty. My stitches looked crazy, and I had huge knots on the back.
Since then, I have learned tips that have helped me keep my projects neat and display worthy.
One of my favorite tricks I’ve learned is how to secure my thread at the beginning and end of a project without using knots. I like to put my finished works into picture frames, and knots on the back of the project make it lay weird.
Where to start
What is counted cross stitch (also referred to as ‘cross stitch’)? It is simply a needlework technique that creates series of x’s to create an image. The x is made by crossing one stitch over another (crossed stitches). Whereas, embroidery is a different form of needlework that uses multiple types of stitches. In my opinion, cross stitch is a great place to start needlework. If you can count, you can cross stitch!
The first thing you’ll need is a pattern or project. If you are brand new to counted cross stitch I suggest starting with a kit. This will include everything you need to get started.
The Dimensions brand has some great kits at a wide variety of complexity levels. You can find their kits on Amazon here [Dimensions Cross Stitch Kits]. Or you can find a variety of kits at your local craft stores.
I also like to purchase patterns from Etsy. Some of these include thread and materials, while others don’t. I generally just print the pattern and then go to my local craft store to get the needed DMC brand embroidery floss. I keep all my cross stitch supplies in my Maker’s Tote.
I have also recently gotten a craft stand to hold my project, and it has been a game changer! This is the one that I have.
It’s time to Start!
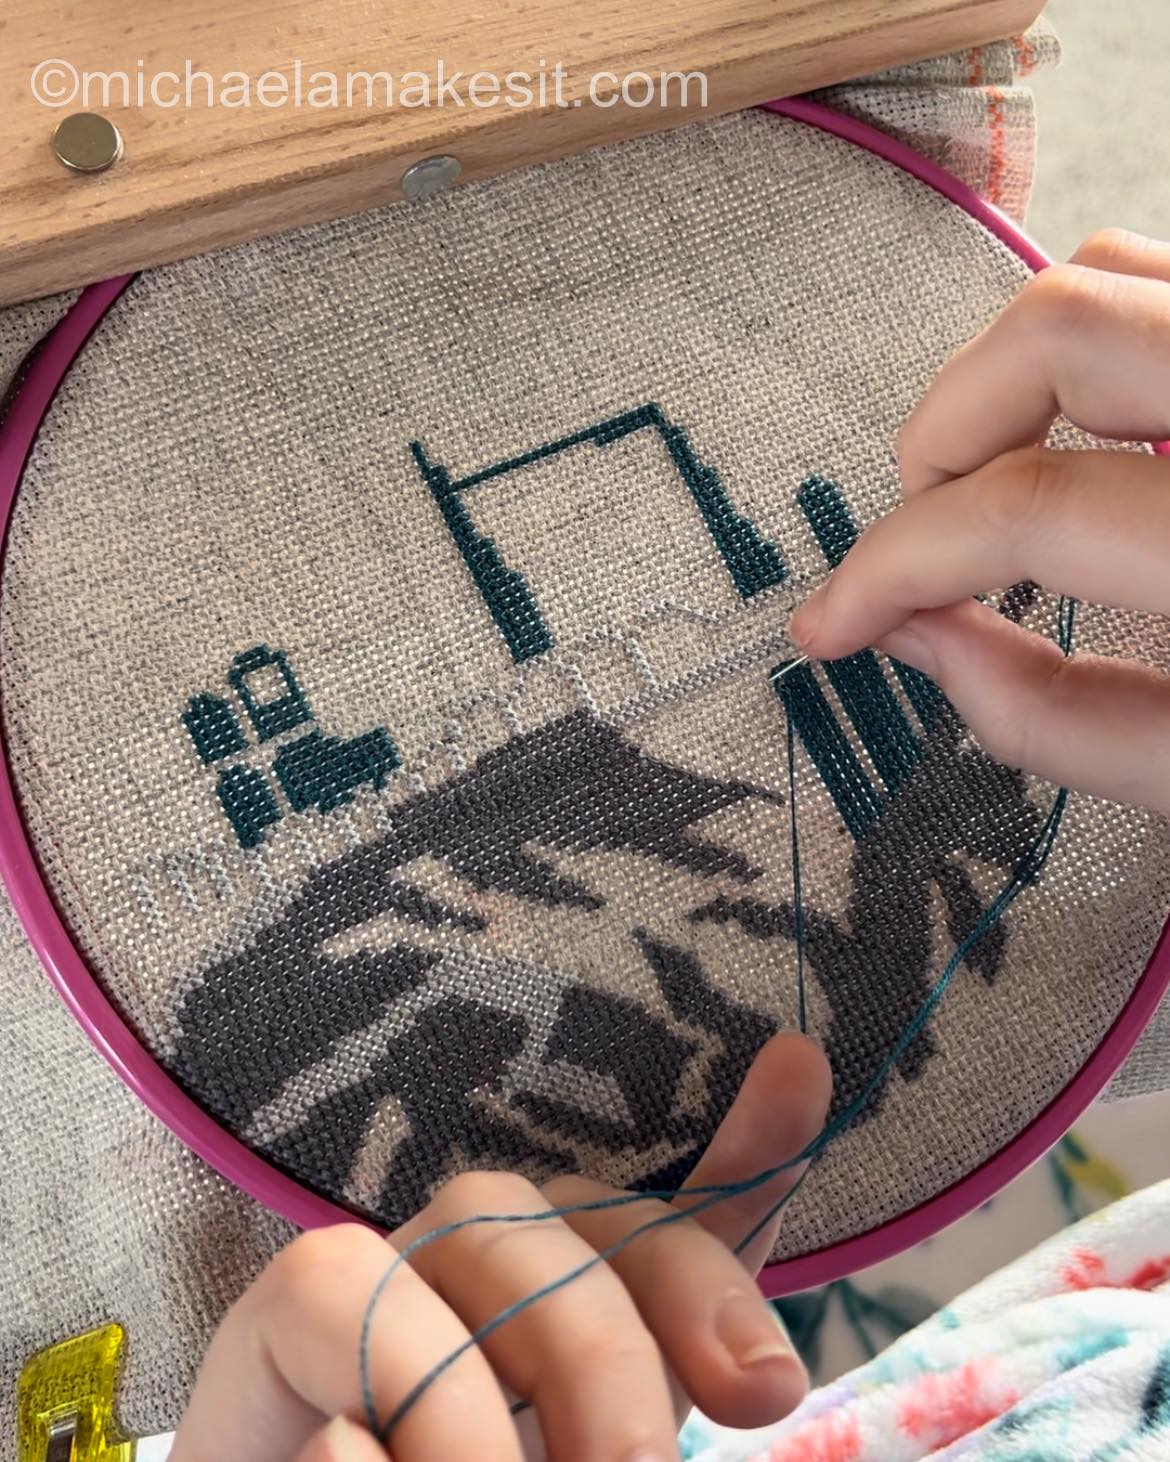
My personal preference is to start at the bottom center of the pattern. Some people like to start in the very center of the design, and align it with the center of your fabric. I also complete the pattern by color. So whatever color is used in the bottom center I finish all parts of the pattern that use that color, and then move onto the next color.
Below I have 3 quick videos demonstrating some of the tips I have learned. How to start and end a thread without using knots, as well as how to keep your project looking neat and uniform.