*Some Miniverse Sets are not currently available. Read more HERE.*
Yes, I jumped on the Miniverse bandwagon. They are all so tiny and fun! See all of the Miniverse sets I’ve made
If you don’t know what “Miniverse” is, they simply are kits of mini resin crafts. There are multiple series, most of which are food with a couple home and decor series. Part of the fun is that the balls the kits come in are only labeled to the series, so it’s a mystery which kit you will receive. They also have different limited seasonal series.
You can check them out Here on Amazon: [MGA’s Miniverse]
I recently purchased the Miniverse Kitchen (*currently unavailable) to use the UV light ‘oven’. The oven is reflective on all sides, providing an even “cook” (cure). I was previously using my UV flashlight and would rotate the item to get complete cure.

While the black and white cartoon look is cute. I wanted to make mine unique and personalized to my style.
How I Painted the Miniverse Kitchen
The first thing I did was to take the kitchen apart. First, I removed all shelves and drawers. I separated the back by removing the screws, and then was able to take the counter off. I used pliers to get the handles off.
I printed out a design I wanted for the backsplash. I traced and cut out to fit into the spaces.
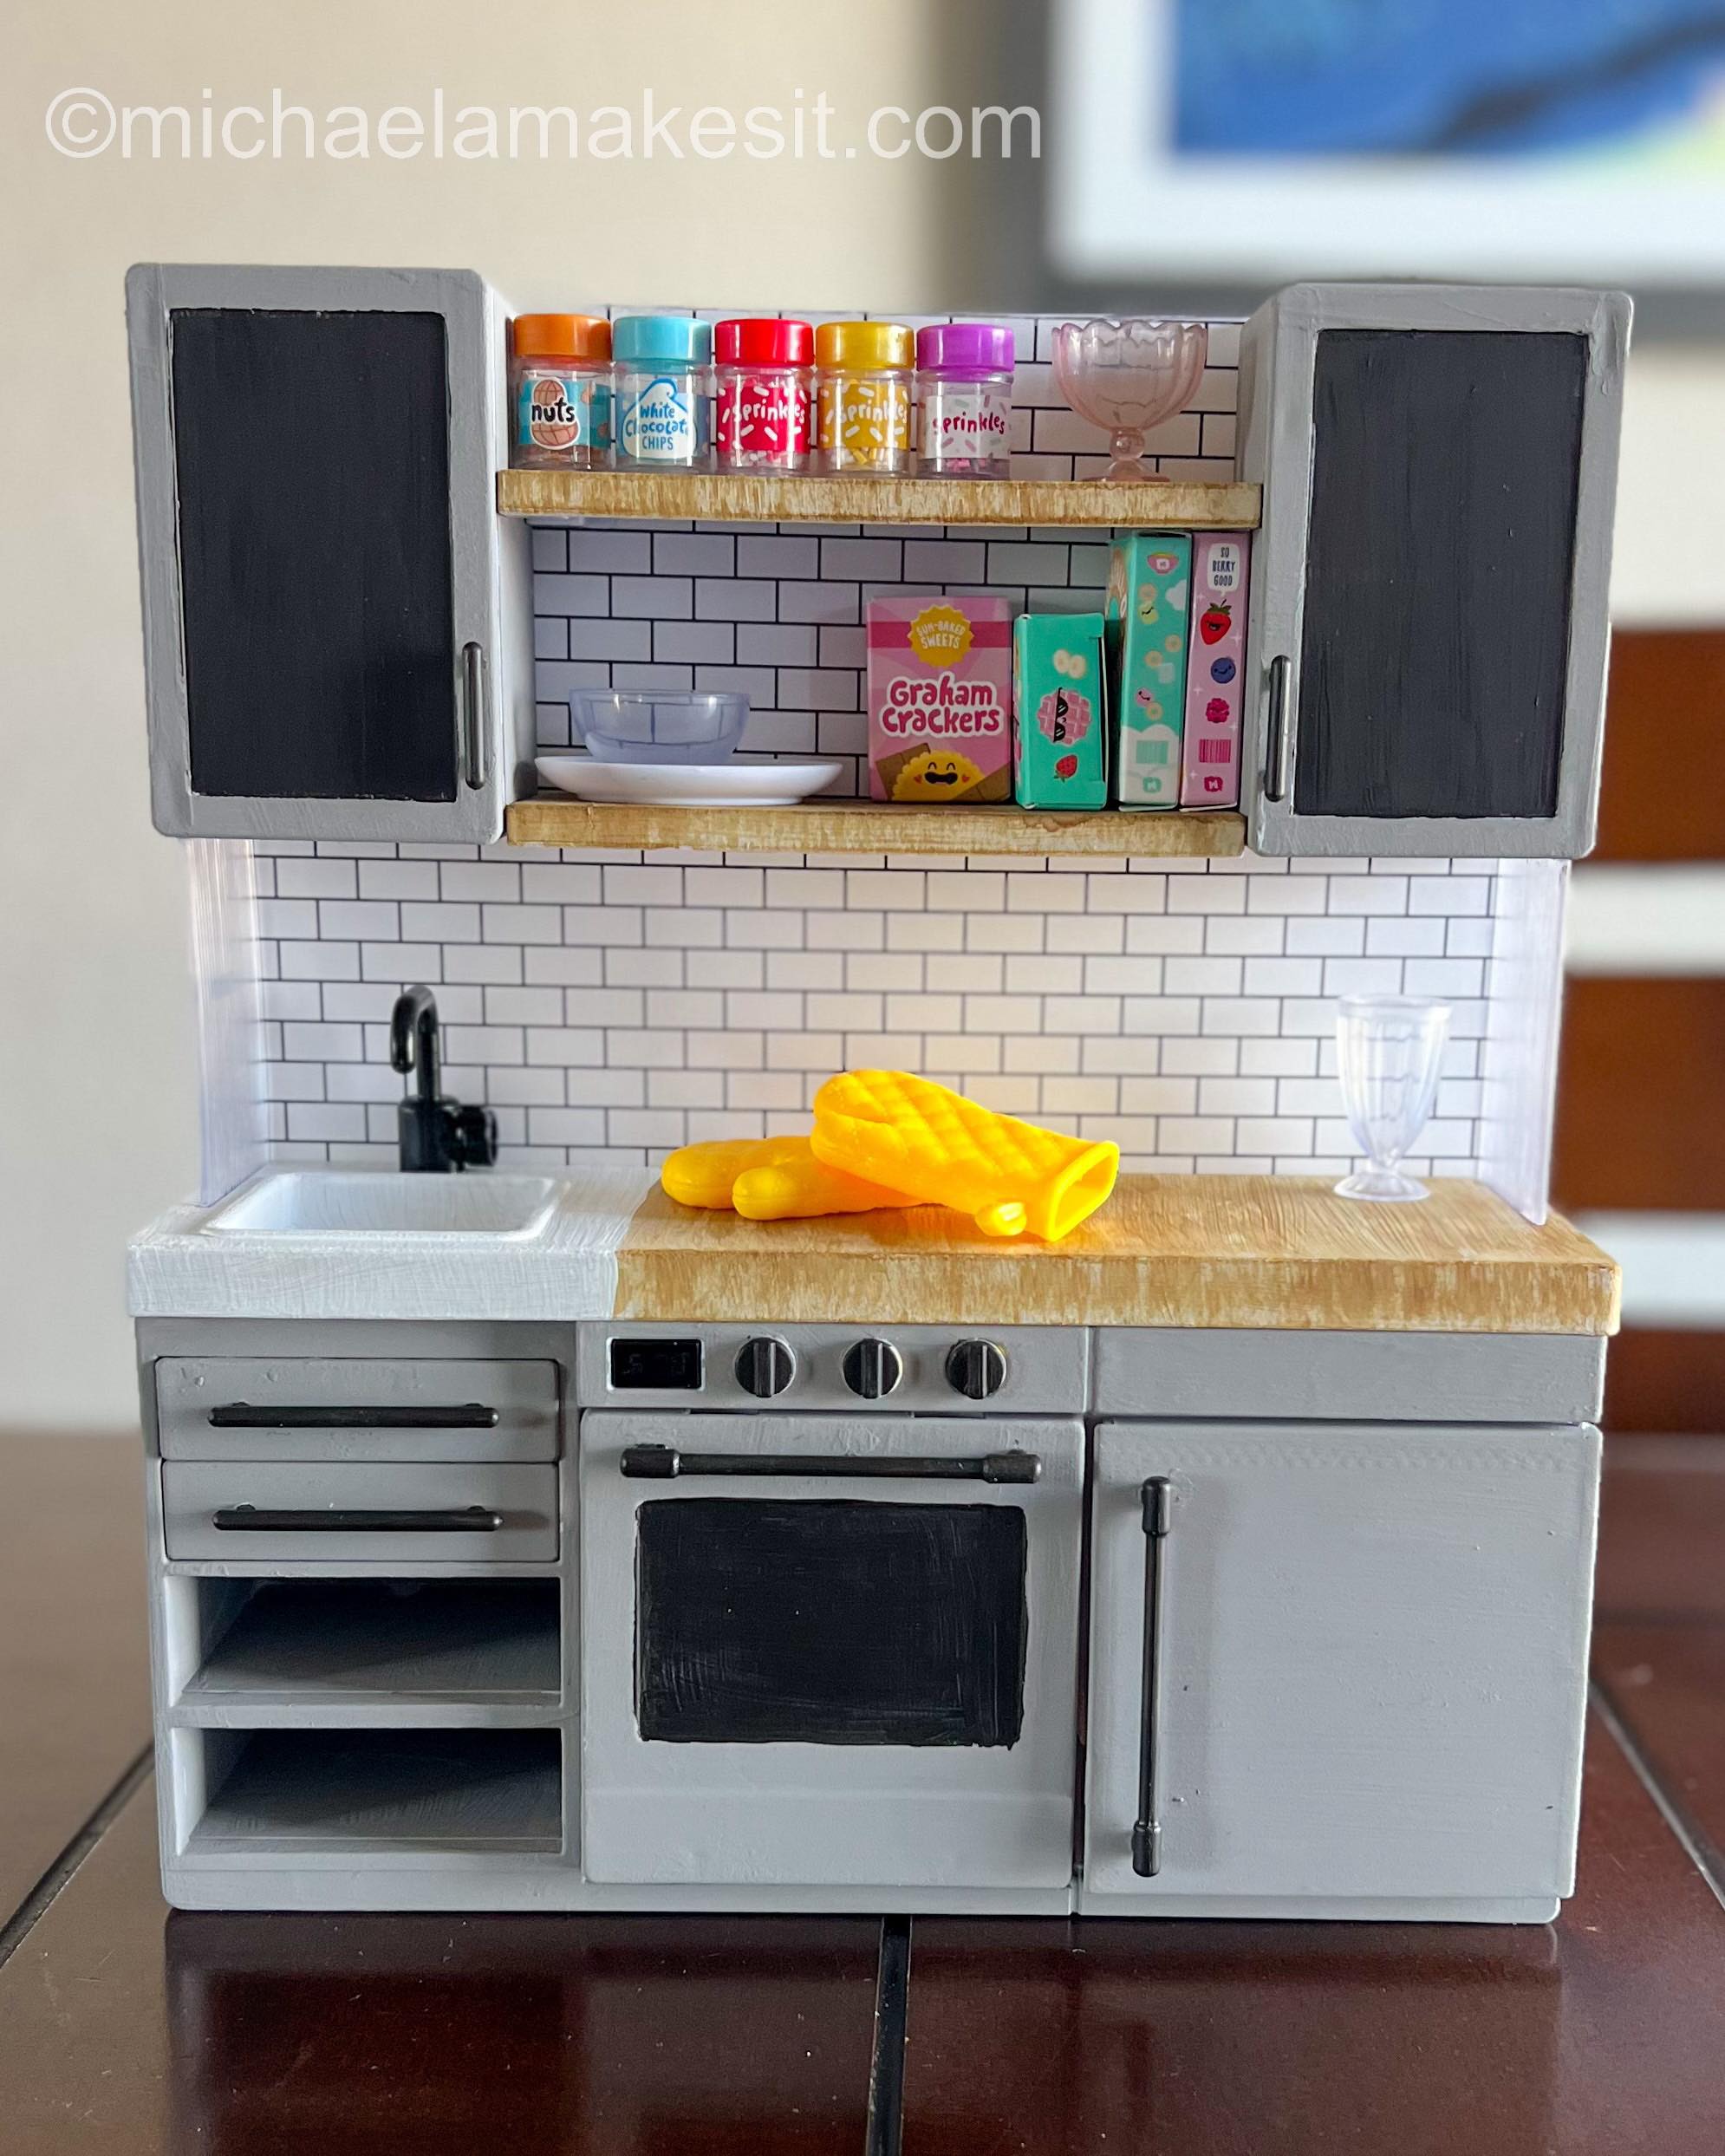
Then I began painting. I painted the counters and shelves cream, and the cupboards grey. I used alcohol ink to give a wood grain look to the shelves and most of the counter. The sink I painted white. All of the handles, cupboard windows, and oven window and buttons I painted black.
Once everything was painted, I reassembled. And Voila!


You can watch the video below showing the steps I took. How are you going to decorate yours?